Repotting Houseplants: A Comprehensive Guide
Houseplants not only add life and color to your environment, but they can also provide a sense of satisfaction and responsibility to their caretakers. One of the most important responsibilities, and perhaps, the most daunting for enthusiasts and hobbyists, is the task of repotting. This process goes beyond simply changing a plant’s location – it is a critical routine that can significantly improve the plant’s growth and health. This task calls for a keen understanding of plant and pot sizes, a comprehensive knowledge of selecting the appropriate soil, and a mastery of the detailed process of repotting. Embarking upon this journey will equip you with the crucial skills to ensure the proper growth and longevity of your beloved houseplants.
Understanding Plant and Pot Sizes
Understanding Plant Sizes
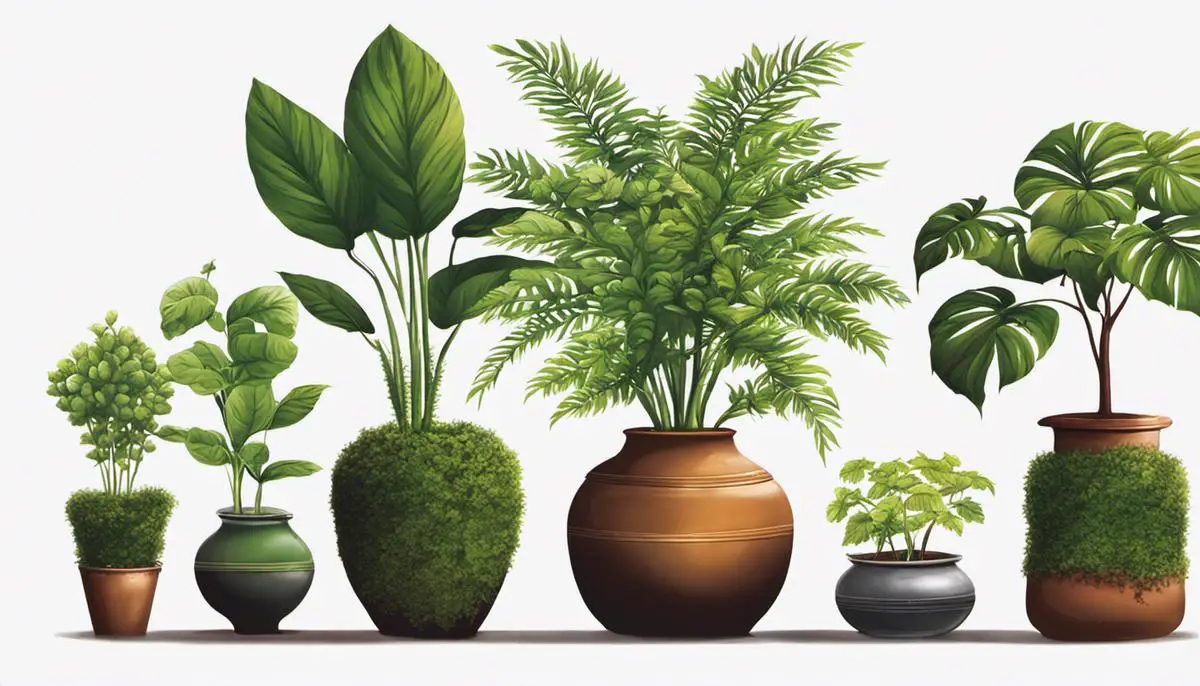
Knowing your plant’s size is pivotal in choosing the right pot. The size of a plant can be determined by its height, width, and overall mass or volume. Consider both the size of the foliage and the root system, as both are important in pot selection. Taller or bulky plants require larger or wider pots, while smaller, less massive plants can thrive in smaller pots. A plant’s size can be determined by observing it closely. If you’re unsure of your plant’s size, consider asking at a local nursery or taking online assistance.
Observing Root Systems
Paying attention to the plant’s root system is just as important as considering the size of the plant. How the roots of your houseplant grow or spread can inform the size of the pot you should use. Some plant’s roots grow deeper, and they require pots that are deep. Other plants have more superficial root systems, these plants can thrive in wider, but less deep pots. The root system can usually be observed when you take the plant out of its pot or when you see roots starting to grow out of the drainage holes.
Understanding Pot Sizes
Pots sizes can be determined by their diameter and height. The size typically refers to the inner diameter at the top of the pot. Pot sizes can range from small (2-4 inches diameter), medium (5-6 inches) to large (over 7 inches). The height of pots can vary, but it should be enough to cover the entire root system of the plants. Smaller sized pots are ideal for seedlings or small plants, medium pots for mature plants, and large pots for tall or bulky plants.
Choosing the Correct Pot Size
When selecting a new pot, consider both size and shape. The pot should be larger than its predecessor to accommodate for new growth, but not so large that the plant’s root system becomes overwatered. The general rule of thumb is to choose a pot that is 1-2 inches larger in diameter than the current pot for plants under 8 inches wide. For larger plants, typically those over 10 inches, an increase by 2-4 inches in diameter will suffice. Remember, the roots need room to grow and breathe, too much space may hold excess water and can lead to root rot.
Big Pot vs Small Pot: The Impact on Plant Growth and Health
Choosing the right pot size impacts the plant’s growth and health. Too large a pot can cause problems with moisture control, possibly leading to over watering and root rot, as the plant cannot absorb all the water in the soil. Conversely, too small a pot can restrict root growth and nutrients absorption, leading to an unthrifty plant. Striking a balance that allows for root expansion without allowing excessive moisture buildup is crucial.
Choosing the Right Soil
Understanding Your Plant’s Soil Needs
Before purchasing soil, it’s important to understand the needs of your houseplant. Different varieties have different soil preferences. Some plants prefer well-draining, sandy soils, while others thrive in loam or clay soil types. Research the needs of your specific plants to select the ideal soil type.
Considering Soil Components
Most potting soils are a combination of peat moss, pine bark, and either perlite or vermiculite. These components provide air space, good drainage, and retain an appropriate amount of water for the plants. Look for a potting mix with these components when shopping.
Choosing Organic Soil
Organic soil is a great choice for houseplants as it is rich in essential nutrients and promotes healthy growth. Organic potting soils are free from synthetic chemicals and pesticides, making them safe for indoor use. Remember to check for the Organic label when buying.
Specially-Formulated Soil Mixes
Some plants have very specific soil needs. For instance, succulent and cacti prefer fast-draining soil with low water retention. Similarly, orchids require a soil mix that allows their roots to breathe. Specially-formulated mixes for specific types of plants are readily available on the market.
Check for Soil pH
Certain houseplants prefer acidic soil, while others prefer alkaline. Understanding the pH requirement of your plant is key because it affects nutrient availability. Most plants prefer a pH between 6.0 and 7.0. Specialty soils are often pH adjusted to cater to your plant’s needs.
Amending Soil for Houseplants
Situations might arise where the store-bought soil does not exactly meet the need of the plants. If this is the case, you can amend the soil to create a better environment for your houseplant. Peat moss, compost, coarse sand, perlite, and vermiculite are often used to adjust the texture, nutrient content, and pH of the soil.
Avoid Using Garden Soil
Garden soil is not suited for indoor plants as it can compact in pots, resulting in poor aeration and drainage. Moreover, it can harbor diseases and pests which can be harmful to your houseplants. Always use high-quality potting mix specifically designed for indoor plants.
Remember
Choosing the right soil for repotting houseplants is a crucial step in ensuring their health and longevity.
Process of Repotting
Identifying the Right Time to Repot
Repotting should ideally be done during the spring or summer, when your houseplants are growing the most. This timing allows your plants to recover from the stress of repotting more quickly. However, if your plant shows signs of being root-bound, which means its roots have crowded together and filled up all the space in the pot, it might require immediate repotting. Signs of a root-bound plant include slow growth, yellowing leaves, decreased resistance to disease and pests, and water running straight through the pot instead of being absorbed.
Preparation for Repotting
Before repotting, water your plant a few days in advance as a moist soil will allow for easier removal of the plant from its current pot. Next, prepare your new pot, which should ideally be only one size bigger than the old one, as too large pots may lead to overwatering. Ensure the pot has drainage holes to prevent waterlogging which can cause root rot. Before placing the plant in, cover these holes with a layer of a porous material like pebbles, to let water drain while keeping soil in. Then, fill about one-third of the pot with fresh, well-aerated potting soil.
Process of Removing the Plant
To remove the plant from its current pot, first, place your hand at the base of the stem, with your fingers spread apart to cradle the plant. Then flip the pot over while supporting the plant gently. Shake it lightly or tap the bottom of the pot until the plant slides out. Do not yank the plant out as it can damage the root system.
Pretreating the Root Ball
Before placing the plant in the new pot, inspect the root ball for root rot, which typically presents as black, soggy roots, and remove any that are affected. If the plant was root-bound, gently tease the roots apart to encourage outward growth.
Placing the Plant in the New Pot
Place the plant in the new pot, spreading its roots out over the fresh soil. The top of the root ball should be just below the rim of the pot. Fill in around the roots with more soil, firming gently as you go along until the soil level is equal to that in the old pot. Ensure that the plant is centered and upright.
Post-repotting Care
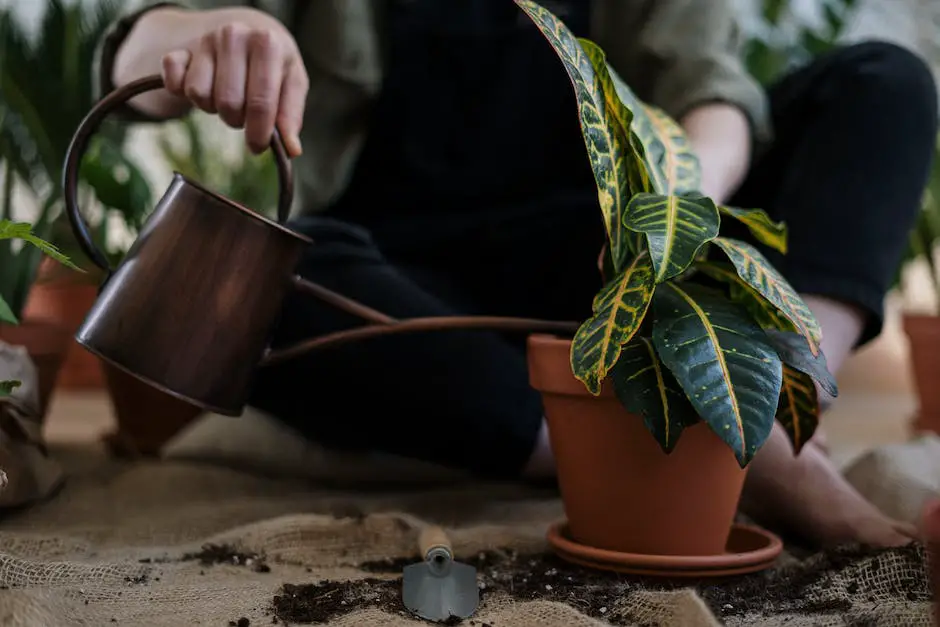
After repotting, water the plant thoroughly to help settle the soil. Keep your repotted plant out of direct sunlight for a few days as it recovers from the shock of repotting. Do not fertilize immediately after repotting, as the roots may be susceptible to burning. Instead, wait for four to six weeks before you begin to fertilize again. Your repotted plant might appear stressed in the beginning, but with good care, it should perk up and continue growing in a few weeks.

Repotting can seem like a delicate and overwhelming practice, but with the right knowledge and guidelines, it becomes a fulfilling and manageable routine that elevates the health and appearance of your houseplants. Acquiring an understanding of the plant-to-pot size relationship, selecting the right soil, and mastering the actual process of repotting, can enable anyone to become proficient at this essential task. Your houseplants depend on your capabilities to perform these tasks well, and with this blueprint in hand, you are set to give them the expert level of care they deserve to thrive. Embrace this roles as a plant-parent, and nurture your houseplants to their optimum potential.


